
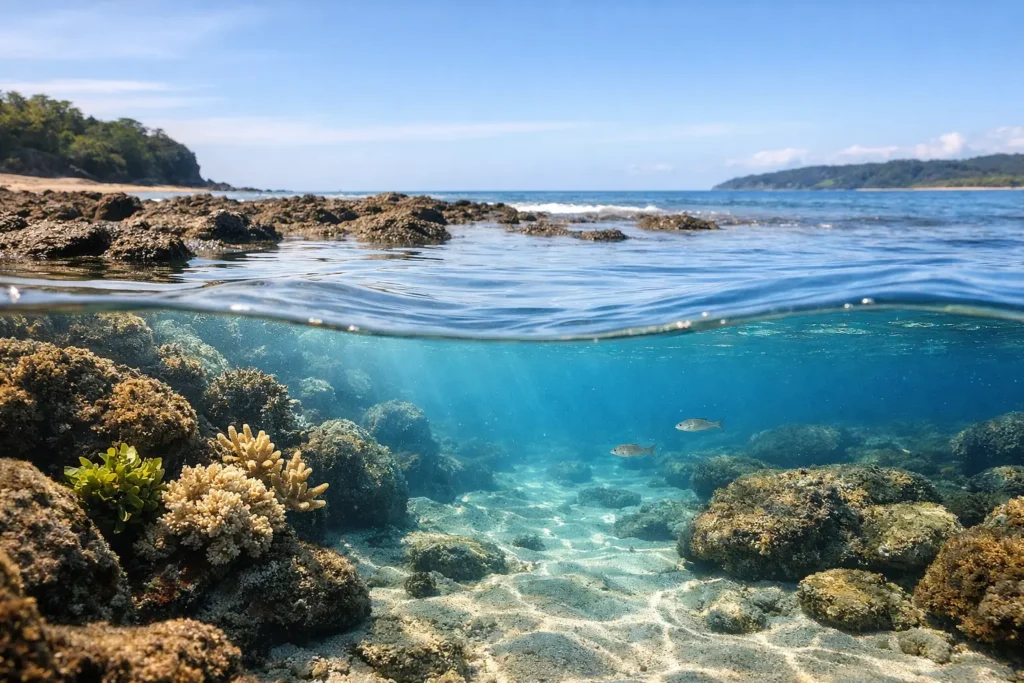
A beach can look flat and glassy at low tide, yet the water below can be a cloud of sand. Or it can be the clearest window of the week. Is low tide clearer underwater? Sometimes, but tide height alone is not the answer. The better question is whether that specific tide is moving clean water through your site or stirring up everything around it.
For snorkelers, freedivers, and divers, that difference decides whether a session delivers reef detail, fish life, and confident navigation – or a wasted gear haul and a short swim in green haze. Stop treating low tide as a universal clarity signal. Read it alongside the conditions that actually move sediment and water masses.
Is low tide clearer underwater at your spot?
Low tide can improve visibility where shallow water is normally churned by waves over a sandy bottom. With less water covering the flats, the tide may slow near its turn, allowing suspended particles to settle. At a protected rocky cove, that can create a short, clear window near low-tide slack.
But low tide can also make conditions worse. Less depth means you are closer to the bottom, where every fin kick, shorebreak pulse, and swell surge can lift sand, silt, seagrass debris, or organic material into the water column. At reef entries with narrow channels, an outgoing low tide may pull cloudy lagoon water seaward. At a river mouth, it can carry runoff and sediment directly across the zone you planned to explore.
The rule is simple: low tide is a water-level measurement, not a visibility forecast. It tells you what may be exposed, where currents may concentrate, and how shallow the route becomes. It does not tell you whether the water is clean.
What usually determines underwater clarity
Tide matters because it moves water, but visibility is usually the combined result of several forces. Think of it as a chain. One bad link – fresh swell, onshore wind, runoff, or a muddy bottom – can override an otherwise promising tide window.
Wind and surface chop
A light offshore wind can flatten the nearshore surface and reduce the wind-driven mixing that keeps fine particles suspended. That often helps you see through the water better, especially in open coves.
Onshore wind does the opposite. It pushes surface water toward land, builds chop, and can stir the shallows against the beach. Even if the ocean looks manageable from shore, the underwater view can be full of moving sand. A calm morning before the daily sea breeze arrives is often more valuable than waiting for a particular tide height.
Swell direction and period
Swell is one of the biggest visibility killers around shallow reefs, sand-bottom beaches, and rocky entries. A long-period swell can carry enough energy to stir the bottom even when the wave faces look small. That is why a forecast showing modest surf is not always a green light for a clear snorkel or dive.
Direction matters too. A cove sheltered from a northwest swell may stay clean while a nearby beach faces directly into it and turns milky. Look at how the coastline, headlands, reefs, and harbor walls protect your exact entry. Conditions can change dramatically within a few miles.
Rain, runoff, and outflow
After rain, low tide is often less favorable near streams, storm drains, canals, and river mouths. Outgoing water can carry sediment, debris, and contaminants toward the coast. Visibility may drop quickly, and water quality can be a concern even when the surface appears calm.
Give runoff time to clear, particularly after heavy rain or a prolonged wet spell. The wait depends on the watershed, current, wind, and local geography. Clear blue water offshore does not guarantee clean water at the entry.
Bottom type and your own movement
A limestone reef, kelp forest, or steep rocky wall generally has less loose material available to suspend than a broad sandy flat. That is one reason two sites under the same tide and weather can look completely different underwater.
Your group can also change the conditions. In shallow water, one careless kick can wipe out visibility for everyone behind you. Use controlled frog kicks or gentle flutter kicks, stay off the bottom, and leave extra space around divers and snorkelers. Good buoyancy is not just a skill flex – it protects the session.
The best tide phase is often the transition
Many ocean users find their best visibility near slack tide, the short period around high or low tide when current slows before reversing. Slower water can mean less sediment moving through a site and an easier entry or exit. But slack is not automatically safe or clear. Ocean swell can still surge through a cove, and a narrow inlet may have strong residual current even near the predicted turn.
An incoming tide is often a better bet at beaches affected by runoff, marinas, or warm shallow backwaters. It may bring cleaner offshore water toward shore. At other sites, incoming water can push murky water over a shallow reef or intensify surge at the entry. Local pattern recognition wins.
An outgoing tide can be productive at clear, ocean-fed reefs where it carries clean water through the area. It can also become a no-go at channels, passes, harbors, river mouths, and places where water funnels seaward. Never plan an outgoing-tide session based on visibility alone if there is a realistic chance of being pulled away from your exit.
Use low tide for access planning, not just clarity
Low tide can make an entry easier by revealing rocks, reef shelves, and channels that are hidden at higher water. It can also make that same entry more hazardous. Exposed reef, sharp rock, shallow ledges, and wave wash leave less margin for error.
Before committing, check whether you will have enough depth to return safely with your gear. A route that is comfortable on the way out can become a long, awkward walk across live reef or slick rock on the way back. For freedivers and snorkelers, shallow water also means less room to manage a surprise wave or avoid contact with the bottom.
This is where timing beats a single-condition mindset. The clearest-looking hour is not necessarily the best ocean hour if your exit will be exposed, current is building, or your buddy is not comfortable with the entry.
A faster way to decide before you go
Build your call around the site, not a generic tide rule. Start with the last 24 to 72 hours: Has there been rain? Did swell increase? Has wind been blowing onshore all afternoon? Then look at the tide direction and timing for your planned entry, underwater portion, and exit.
Next, compare the forecast with fresh local evidence. Recent in-water photos and community reports are especially useful because visibility is highly local. A weather forecast can show sunshine and low wind while the nearshore is still brown from yesterday’s swell.
Searu is built for that exact decision: combining tide, wind, swell, water-clarity outlooks, and real local check-ins into a practical session window. The goal is not to chase a perfect forecast. It is to know when the odds are good enough to pack the gear, call a buddy, and go with a plan.
When low tide is worth targeting
Low tide is worth considering when your location is protected from swell, has a firm rocky or reef bottom, has had no recent runoff, and the tide turn creates a manageable current window. It can be particularly useful for scouting entries, photographing shallow reef, or snorkeling protected pockets that become calm as the water settles.
Skip the low-tide assumption when the site has soft sand or silt, active shorebreak, recent rain, a draining estuary nearby, or an exposed reef shelf. In those conditions, higher water or a gentle incoming tide may offer more depth, cleaner water, and a safer exit.
The ocean does not reward rigid rules. Check the tide, then check what the wind, swell, rain, bottom, and local reports are saying. When those pieces line up, get in while the window is open – and make sure your buddy knows the plan.