
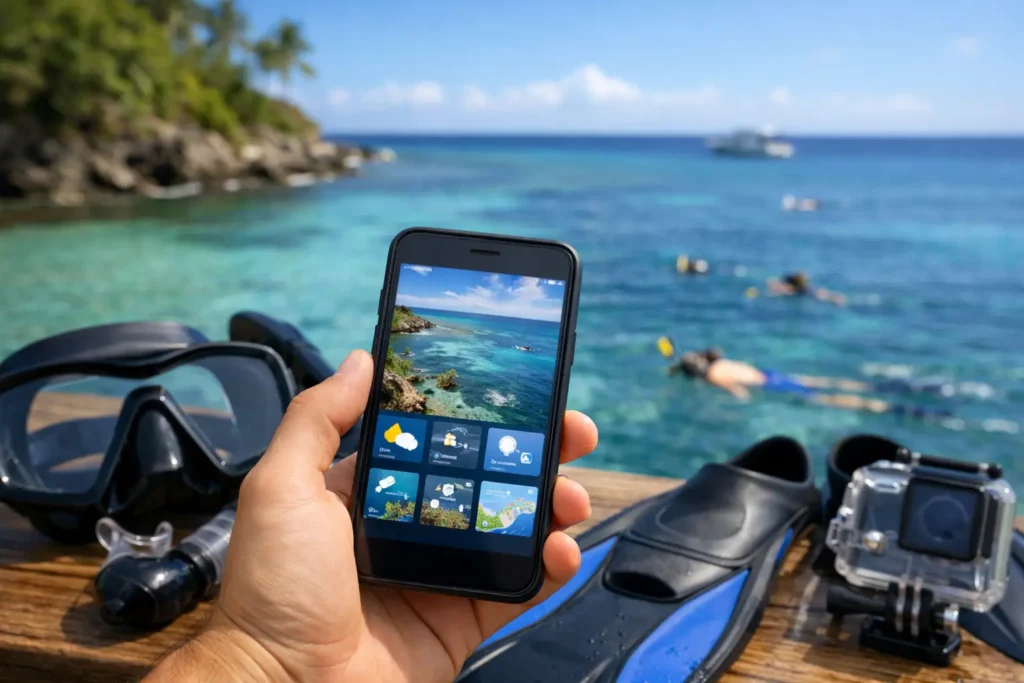
A blue-sky forecast can still deliver a brown-water snorkel session. One wind shift, a rising swell, runoff from last night’s rain, or a poorly timed tide can turn a promising beach day into a gear-rinsing exercise. The best apps for snorkel reports help you spot those problems before you load the car, coordinate a buddy, and drive to the coast.
For snorkelers, the right app is rarely the one with the prettiest weather icon. You need a quick read on visibility, timing, water movement, and what people actually found at the site. That means using tools built for different jobs – then knowing which signals deserve the most weight.
What a useful snorkel report needs to tell you
A true snorkel report answers a practical question: is it worth getting in, and when? Air temperature and a generic chance-of-rain percentage do not get you there. Conditions below and at the waterline are shaped by several variables working together.
Visibility is the big one. Offshore wind can flatten the surface while recent rain sends sediment, debris, and runoff into the water. A small swell can look harmless from shore but stir sand across a shallow reef. Tide can improve access and water depth at one location while increasing current or clouding water at another.
The most useful apps translate that messy picture into a decision. Look for a mix of water-clarity guidance, wind direction and strength, swell height and period, tide timing, marine alerts, recent rainfall, and local observations. A recent photo from someone at the exact cove can matter more than a broad regional forecast.
Best apps for snorkel reports: choose by the job
There is no universal winner because a Florida spring, a Hawaiian reef, and a California kelp bed respond differently to the same conditions. The best setup depends on whether you need a fast go-or-no-go answer, detailed weather context, a live camera, or navigation support.
Searu for visibility-first session planning
Searu is designed around the question snorkelers ask most often: when will the water be clear enough to enjoy? Rather than making you interpret scattered wind, tide, and swell charts on your own, it brings clarity outlooks, suggested session windows, environmental snapshots, and community check-ins into one planning view.
That focus makes it especially useful when visibility is your non-negotiable. Photo-based reports and local observations add real-world context to forecast data, while built-in buddy planning helps reduce the friction of finding someone to join a session. It is a strong fit for people who want less tab-switching and a clearer call before committing time, fuel, and gear prep.
The trade-off is simple: no forecast should be treated as a guarantee. Localized runoff, a sudden wind change, or an exposed beach can alter conditions quickly. Use the outlook to choose a window, then reassess on arrival.
Windy for seeing what is driving the conditions
Windy is a powerful second-opinion tool when you want to understand the forecast behind a snorkel decision. Its map layers can help you track wind direction, wind speed, rain, waves, and swell movement across a larger area. That is valuable when choosing between two coastlines, looking for a protected side of an island, or deciding whether tomorrow will improve after a rough afternoon.
For snorkelers, direction matters as much as the number. A light onshore breeze can degrade a shallow, sandy entry, while a similar offshore flow may clean up the surface but create other access or safety concerns. Watch the trend across several hours instead of judging one snapshot.
Windy is information-rich, which is also its limitation. It does not automatically tell you whether your favorite reef will be clear at 9:30 a.m. You still need local knowledge and recent reports to turn models into a site-specific plan.
Surfline for cameras and nearshore reality checks
Surfline is surf-focused, but its cams and conditions coverage can be useful for snorkelers at beaches with nearby camera access. A live view can reveal whitewater, wind texture, beach crowding, and whether the shoreline looks significantly rougher than a forecast suggests.
This is most helpful for exposed beaches where surface conditions and shorebreak determine whether entry is reasonable. Check a camera shortly before leaving, then compare it with swell and tide data. If a camera shows constant foam lines and choppy water, the snorkeling may be disappointing even if the sun is out.
Cameras have blind spots. They cannot reliably show underwater visibility, current at depth, or conditions around a point and out of frame. Treat them as a shoreline check, not a complete snorkel report.
Tide apps for access and timing
A straightforward tide app, such as Tides Near Me or a local tide chart app, earns a place on your phone because many good snorkel sites are tide-sensitive. Low tide may expose reef, make a rocky entry difficult, or reduce depth over coral. A rising tide may improve access, while a fast-moving tidal exchange can create current around channels, jetties, and inlets.
The best use of a tide app is not chasing a universally perfect tide. It is learning the pattern at your regular spots. Ask local divers, lifeguards, or experienced snorkelers when the water tends to clear, when entry is easiest, and which tide stages demand extra caution.
Tide predictions are timing tools, not current guarantees. Wind, swell, and geography can change what the water actually does.
Navionics for site awareness on the water
Navionics is primarily a boating and navigation app, but it can help confident coastal users understand the shape of a site. Depth contours, channels, reefs, and harbor entrances provide useful context when planning a boat-access snorkel or assessing how swell may wrap into a shoreline.
Its value is strongest for orientation, not as a substitute for local site knowledge or marine navigation training. Never use an app map to justify entering an unfamiliar inlet, crossing a boat channel, or snorkeling beyond your ability. Give marked traffic areas a wide berth and follow all local rules.
Build a better report in two minutes
The fastest planning routine starts with visibility and safety, then narrows to timing. First, check whether recent local reports and photos match the forecast. A forecast may look favorable, but an observation from this morning can reveal runoff, jellyfish, surf, or unexpected haze.
Next, look at wind, swell, and tide together. Favor a protected location when wind or swell is directed into your first-choice beach. If conditions are borderline, shift your session earlier or choose a site with a calmer entry rather than forcing the plan.
Finally, make the buddy call before you leave. Share the location, expected entry and exit time, and your turnaround rule. Snorkeling is more fun with company, and a simple plan gives someone else a reason to notice if conditions change or you are overdue.
Do not confuse clear water with safe water
Crystal-clear water can still come with surge, current, boat traffic, sharp reef, or a difficult exit. Murkier water can reduce your ability to see hazards, but visibility alone is not the full safety picture. Check marine warnings, respect beach closures, and skip sites that require skills, exposure, or local knowledge you do not have.
The best report is also site-specific. A protected cove may be calm while the beach five minutes away is getting hammered. If you travel for snorkeling, keep a backup location in mind and stay willing to change plans. A flexible plan saves more sessions than optimism does.
Before the next blue-water window, use your apps to narrow the options, then let the coast make the final call. When the report, the shoreline, and your comfort level all line up, that is the moment to get in.