
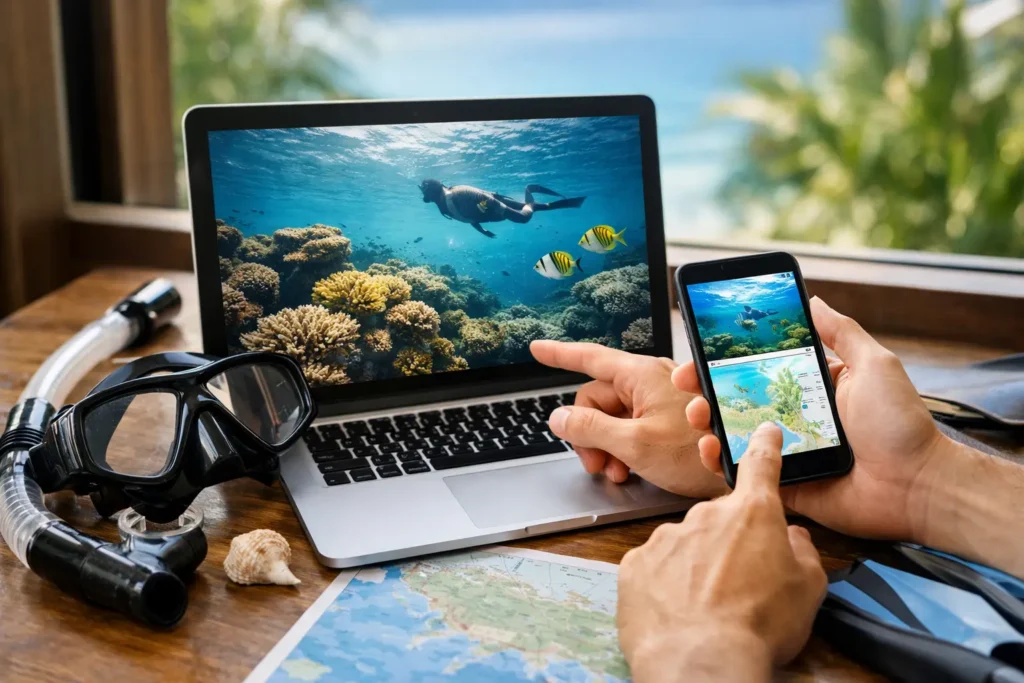
A beautiful forecast can still produce a disappointing snorkel session. The sun is out, the beach looks calm, and then you put your face in the water and find stirred-up sand, runoff haze, or visibility that ends a few feet from your mask. Learning how to use snorkel reports helps you catch that mismatch before you load the car, pack your fins, and commit your day.
A good report is not a simple green light or red light. It is a quick read on what the water is doing at a specific place, at a specific time, from someone who was actually there or from data that reflects local conditions. Read it with context, and you can spend less time guessing and more time getting in when conditions line up.
Start With the Report’s Time and Location
The first question is not, “Does it say clear?” It is, “Clear where, and when?” A report from yesterday morning may be useful background, but it is not a promise for this afternoon. Wind can rise, a tide can turn, boat traffic can build, and a small swell shift can change a protected cove fast.
Check the report timestamp first. Reports within the last few hours carry the most weight, especially after weather changes. Then confirm the exact location. A report from the north end of a beach can be very different from one near a rocky point, reef edge, harbor entrance, or sheltered lagoon only a mile away.
Treat broad regional labels carefully. “Clear in South Florida” or “good in San Diego” is not enough to plan a session. Snorkeling happens close to shore, where local geography decides whether wind and swell hit directly, wrap around a point, or leave a pocket of calm water behind.
How to Use Snorkel Reports for Visibility
Visibility is usually the reason you opened the report, but the word “good” needs translation. One snorkeler’s good visibility may mean 10 feet. Another may mean 40 feet and clear reef detail from the surface. Look for a distance estimate, a photo, or a description that gives the report some scale.
Pay attention to whether the water is described as clear, hazy, green, silty, milky, or full of suspended sand. These are not interchangeable. Hazy water may still be very usable for a shallow, relaxed reef session. Milky water after surf or runoff often means the view is limited and conditions may not improve quickly without a change in wind, swell, or tide.
Photos help, but use them intelligently. A camera pointed toward bright, shallow sand can make water look clearer than it feels underwater. Look for clues in the image: Can you see the bottom beyond the shoreline? Are rocks, reef, or fins visible below the surface? Is the water color consistent, or does it turn brown near an outflow or beach break?
If a report gives a visibility range, plan around the lower end. A stated range of 15 to 25 feet might be great for a protected shallow reef, but less appealing for a deeper site where you want to keep your buddy in view. Your route, comfort level, and experience matter as much as the number.
Read the Conditions Around the Water Clarity
Visibility does not exist on its own. The best snorkel reports connect clarity to the conditions that created it. That is where you move from reacting to a report to planning a smarter session.
Start with wind direction and strength. Onshore wind can push chop, foam, and suspended sediment toward the beach. Offshore wind can make the surface look smoother near shore, though it may also carry flotation devices or tired swimmers away from land. Cross-shore wind can be manageable at one site and messy at another, depending on the coastline.
Then look at swell. A low swell forecast does not always mean zero impact. Even a modest long-period swell can surge across a shallow reef, make entries awkward, and stir sand in coves that normally stay clear. Reports mentioning surge, shore break, or sand moving around are a sign to rethink the site, even if the water color looks decent from the parking lot.
Tide is another useful filter. Some locations clear up on a rising tide as cleaner offshore water moves in. Others are best around slack water, when currents ease and surface chop settles. There is no universal “best tide” for snorkeling. Build your own spot knowledge by comparing reports over time with the tide stage noted beside them.
Finally, check recent rain and runoff. Heavy rain can turn a usually reliable site murky for a day or longer, particularly near storm drains, rivers, harbors, and steep coastal watersheds. In these situations, a bright sky is irrelevant. What happened upstream may matter more than what the weather looks like at the beach.
Separate a Fun Session From a Safe One
A positive snorkel report can tell you the water is inviting. It cannot decide whether the session is right for you. Before going, scan for safety details that may be buried in the notes: current, shore break, boat activity, jellyfish, slippery entry points, low water over reef, or limited exit options.
A report that says “clear but strong current” is not a mixed message. It is clear information. If you are new to the site, alone, tired, or snorkeling with kids, current may be the deciding factor. Likewise, “calm surface, strong surge on the reef” should change how far you go and whether you bring less experienced friends into the water.
Use reports to answer four practical questions:
- Can I see well enough for the kind of snorkeling I want to do?
- Can I enter and exit without taking unnecessary risk?
- Will I be able to stay close to my buddy and maintain orientation?
- Is there a better time window or a more protected nearby site?
If the answer to one of those is unclear, do not fill in the blank with optimism. Wait for a newer report, choose an easier location, or make it a shore day instead of a water day.
Compare More Than One Report
One report is a data point. Several recent reports reveal a pattern. This matters most when conditions are changing or when the reporter’s standards may differ from yours.
Look for agreement across observations. If several people report 20-foot visibility, light chop, and a clean entry, confidence goes up. If one person says glassy and another mentions breaking waves, compare the timestamps and locations before assuming someone is wrong. They may have been at different sections of the coast or in the water hours apart.
Community reports are especially valuable because they capture things models cannot fully see: a plume from a nearby channel, a new patch of kelp, a crowded launch area, or a surprisingly calm corner behind a headland. Searu brings those real-world check-ins together with tide, wind, and swell signals, so you can see both the forecast logic and what people are experiencing on site.
Still, do not treat a crowd-sourced report as a guarantee. Conditions change, people judge visibility differently, and a photo can miss the hardest part of an entry. The goal is not perfect certainty. It is a better decision with less wasted fuel, gear prep, and beachside disappointment.
Build a Personal Baseline for Your Favorite Spots
The fastest way to get better at reading snorkel reports is to connect them to your own sessions. After each outing, make a quick note: reported visibility, actual visibility, wind direction, swell feel, tide stage, and whether the site worked for your goals.
Within a few trips, patterns start showing up. You may find that a certain cove is worth the drive only on light north wind, that your favorite reef stays clear longer than expected after rain, or that a “fair” report is plenty good for early-morning fish watching but not for photography.
This is also how you learn whose reports align with your expectations. Some locals prioritize calm entries. Freedivers may focus on depth visibility. Families may care most about shallow-water clarity and gentle shore conditions. None of those viewpoints is wrong. They simply serve different sessions.
Make the Call Before You Leave
The best snorkel report gives you a decision, not just information. Check the newest observation, confirm the location, read visibility alongside wind, swell, tide, and runoff, then match the result to your skill level and plan. If the window looks good, coordinate with a buddy and go early enough to use it.
The ocean does not owe anyone clear water just because the calendar says beach day. But a few minutes spent reading the right signals can turn a hopeful guess into a well-timed session – and leave you with more time underwater, where you wanted to be in the first place.