
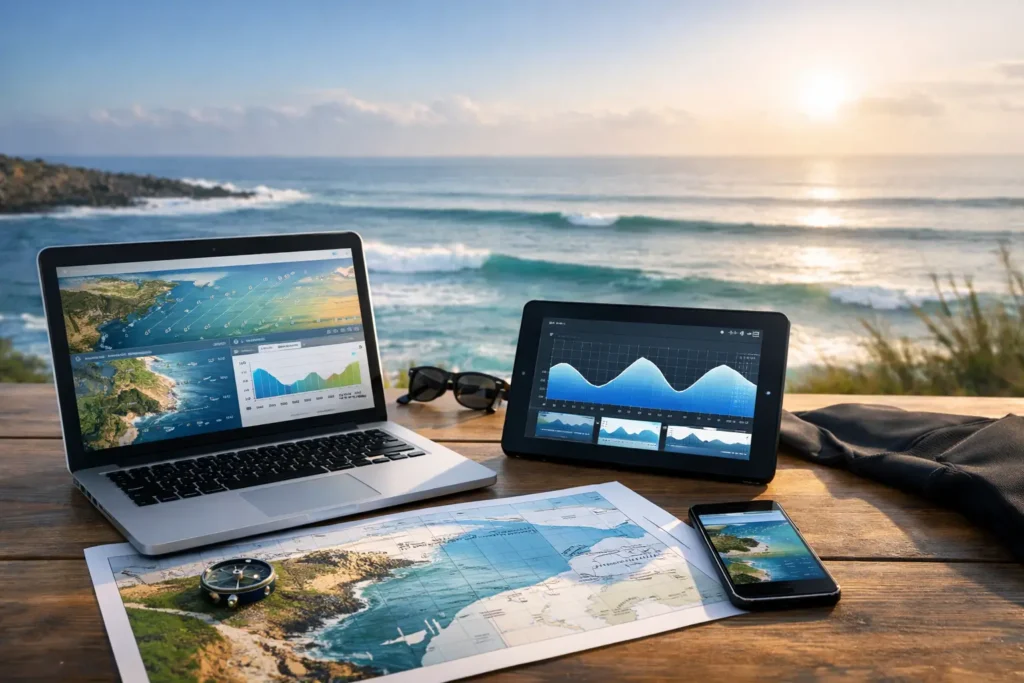
A wind tide swell planner should do more than stack three forecasts side by side. For divers, snorkelers, freedivers, and anyone chasing a clean nearshore session, the real question is simpler: when will the water actually be worth getting in?
A light breeze can keep a protected cove glassy. The same breeze, pointed into an exposed beach, can push chop and stirred-up water right into your planned entry. A rising tide may bring cleaner water into one spot while a falling tide sends runoff, sand, and murk across another. Swell can create great energy offshore but turn a shallow reef entry into a no-go.
Stop guessing from a handful of tabs. The goal is to read wind, tide, and swell as one moving picture, then choose a time window that fits your site, skill level, and reason for getting wet.
What a wind tide swell planner should tell you
Most marine forecasts give you the ingredients. Wind speed and direction. Tide height. Swell height, period, and direction. That data matters, but it does not automatically answer whether visibility will be good, whether the entry will be manageable, or whether your buddy will have a better time waiting two hours.
A useful wind tide swell planner translates raw conditions into practical decisions. It helps you spot the overlap between favorable wind, a workable tide stage, and swell that matches the exposure of the beach, reef, inlet, or boat site you are considering.
That overlap is usually a window, not an all-day guarantee. Conditions can look excellent at 7:00 a.m., become choppy by late morning as the sea breeze arrives, then improve again near sunset. Planning around that change is how you avoid burning a tank, a drive, or a rare free morning on murky water.
For underwater users, visibility belongs at the center of the decision. Wind and swell influence surface texture and sediment movement. Tide can move cleaner offshore water in or pull cloudy water through an inlet. Rainfall, current, boat traffic, and the shape of the coastline add another layer. A planner should recognize that a calm-looking surface does not always mean clear water below it.
Read wind for the spot, not the whole coastline
Wind direction is often more valuable than the headline wind speed. A 10-knot wind is not automatically bad. On a sheltered shoreline, it may have little effect. On an open-facing beach, that same wind can build short-period chop, make entries harder, and keep sand suspended in the shallows.
Start by identifying whether the wind is offshore, onshore, cross-shore, or blocked by land at your specific location. Offshore wind can smooth the face of a beach but may also make exits more complicated, especially for newer swimmers or anyone using a float. Onshore wind usually creates the fastest decline in surface quality at exposed spots. Cross-shore wind is a mixed bag: it can be manageable at one cove and uncomfortable a mile down the coast.
Timing matters just as much. Many coastlines are calmer early, before daytime heating strengthens the wind. That does not mean every morning is better, but it gives you a pattern to test against local experience. If your best sessions consistently happen before 9:00 a.m., put that knowledge into your planning instead of treating each forecast as a blank slate.
A good planner also avoids false precision. Wind forecasts can miss local gusts, channeling around headlands, and the shelter created by a harbor wall or bluff. Use forecast data to narrow the window, then confirm with local observations before loading the car.
Tide is about water movement, access, and clarity
Tide charts are easy to read and easy to oversimplify. High tide is not universally best. Neither is slack tide, low tide, or an incoming push. The right stage depends on where you are going and what you want from the session.
At a shallow reef, more water can make an entry easier and keep fins farther from coral or rock. At a harbor mouth, a strong outgoing tide can carry cloudy inland water toward the coast. In some places, the first part of an incoming tide brings clearer water. In others, it increases current before conditions settle.
Think beyond the high or low marker. Ask what the tide is doing during your actual session: rising, falling, near a turn, or moving hard through a constriction. A one-hour snorkel planned at the tide change may be very different from one that begins an hour into a strong outgoing flow.
Access is part of this too. A low-tide route over rock may be simple to inspect but awkward to swim across. A high-tide entry can remove exposed hazards while increasing surge against a wall. Check your exit plan before you enter, especially if you are exploring an unfamiliar coast.
Swell is more than the wave-height number
Seeing a two-foot swell forecast does not tell you enough. The swell period and direction determine how that energy reaches your location. A small, long-period swell can still wrap into a reef pass or create strong surge along a rocky shoreline. A larger swell from a blocked direction may barely affect a protected bay.
For visibility, swell often matters because it stirs the bottom. Sandy beaches can turn cloudy after sustained wave action, even when the wind has dropped. Shallow reefs can stay surgy long after the surface looks calm. If your goal is photography, relaxed snorkeling, or a first freedive session, look for a combination of lower swell energy and a site with enough shelter for that direction.
Do not treat surf conditions and underwater conditions as separate forecasts. A beach can look surfable and still be a poor choice for a visibility-focused session. It can also look almost flat while surge inside the water makes the experience uncomfortable or unsafe. Your plan should reflect the activity, not just whether the ocean appears inviting from the parking lot.
Build your session around the overlap
The most useful way to plan is to choose the location first, then look for the best window rather than chasing a perfect forecast. Every coast has places that work better in different wind and swell directions. Build a short personal rotation of sites: one protected from north wind, one that handles south swell, one that is best on a clean incoming tide, and one reliable option for a quick early session.
Then compare the conditions over time. Look for the period where wind is light or favorable for that site, the tide supports access and water movement, and the swell is unlikely to create heavy surge or sediment. If all three are acceptable for just two hours, that is your window.
This approach also makes coordination easier. Instead of texting a buddy, “Maybe tomorrow?” send a clear plan: meet at 7:30, assess the water from shore, and be out before the wind builds. Specific windows reduce last-minute confusion and make it easier to decide when conditions do not line up.
Searu is built around that practical decision: turning changing coastal inputs, local reports, and visibility-focused analysis into a clearer read on when to go. Forecasts are valuable, but real community check-ins and recent photos can catch what a model cannot, such as a plume of murky water after rain or a protected pocket that stayed clean through an otherwise rough day.
Use a final shore check before committing
A planner gets you close. The coast gets the final say. When you arrive, take a few minutes to assess the actual conditions before suiting up. Look for surface chop, wave sets, water color, floating debris, active currents, and how other ocean users are moving through the area.
If you can see submerged rocks, sand patches, or the reef line from shore, that is useful visibility context. If the water has a brown or milky band near the entry, ask where it is coming from and whether it is moving. Watch the sets long enough to understand the rhythm, not just the quiet minute between them.
This is also the moment to make the conservative call. A forecast can be favorable and still not justify a solo entry, a long swim, or a session beyond your experience. Better planning should create more good days in the water, not pressure you to force a marginal one.
The best ocean sessions are rarely accidents. Learn how wind, tide, and swell behave at your regular spots, trust recent local evidence, and be ready to shift the time or location when the water tells you to. The clean window is often there – you just need a plan built to find it.