
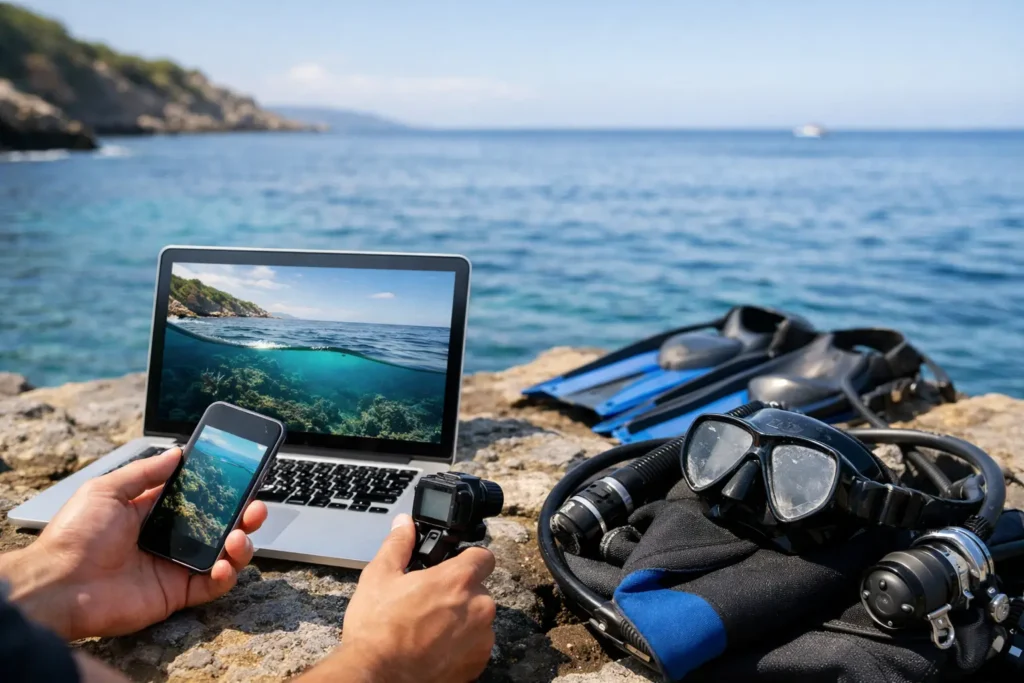
A parking lot can be sunny, calm, and completely misleading. Ten minutes later, you can be looking through green-brown water with a few feet of visibility, wondering why you loaded tanks, rinsed gear, and drove across town. Knowing how to check ocean visibility before diving helps you avoid that outcome and choose a better window instead.
Visibility is not one forecast number. It is the result of what the ocean has been doing for hours or days: swell moving sand, wind roughening the surface, runoff carrying sediment, tides changing current, and local geography concentrating or clearing the water. Stop guessing based on the sky alone. Build a quick pre-dive read that combines forecast data with what people are seeing at the shoreline.
Start With What Can Cloud the Water
The fastest way to assess a dive day is to look for the forces that put particles into the water. Sand, silt, plankton, runoff, and stirred-up bottom material all reduce clarity, but they do not behave the same way at every site.
At a sandy beach break, a moderate swell can turn the nearshore zone into a washing machine even when offshore conditions look manageable. At a protected rocky cove, that same swell may have less impact until its direction wraps around the point. In harbors, channels, and river mouths, rain and tide can matter more than wave height.
Ask a simple question: what is most likely to make this specific site murky today? If the answer is surf, prioritize swell size, period, and direction. If it is runoff, look at recent rainfall and where freshwater enters the coast. If it is current, focus on tide timing and the site’s known flow patterns.
Check Swell Before You Check the Surface
Swell is one of the biggest visibility drivers for nearshore divers, snorkelers, and freedivers. Bigger waves move more water. More water movement stirs more sand and sediment, especially in shallow areas where you enter and exit.
Do not look at wave height alone. A long-period swell carries more energy than a short-period swell of the same height. That means a forecast showing modest wave heights can still produce powerful surge, stirred-up bottom conditions, and difficult entries. Swell direction matters too. A site sheltered from a west swell may be exposed to a south swell, even if the forecast numbers look nearly identical.
For your regular sites, start tracking the point where visibility usually drops off. Maybe your local cove stays clear with a 2-foot west swell but gets cloudy with a 3-foot south swell. That personal site knowledge becomes more useful than a generic “good” or “bad” marine forecast.
A falling swell often improves visibility, but not immediately. After a rough day, the water may need a full tide cycle or longer to settle. Rocky terrain can clear quickly. Fine sand and enclosed bays can stay cloudy well after the surface appears calm.
Watch for Surge at the Dive Site
Clear water does not automatically mean easy water. Long-period swell can create surge around rocks, caves, kelp beds, and reef structure even when visibility is excellent. Surge affects buoyancy control, can push divers into hazards, and may make a shore entry a poor call.
Treat water clarity and dive safety as separate checks. You want both to line up.
Read Wind Direction, Not Just Wind Speed
Wind can reduce visibility directly by chopping the surface and indirectly by moving surface water, pushing sediment, or bringing in different water masses. The key detail is direction relative to the coastline.
Onshore wind generally pushes surface chop toward the beach and can make an exposed shore break messy fast. Offshore wind may leave the surface cleaner near shore, but it can also create a different set of concerns, including difficult returns for small craft or rapidly changing conditions. Cross-shore wind can be manageable at protected sites and miserable at exposed ones.
Look at whether the wind has been blowing for several hours, not just what it is doing at your planned entry time. A light morning wind after a calm night can be a great window. A light wind following an all-night blow may not be enough to restore clarity yet.
For shore diving, early morning often offers the cleanest surface before local afternoon winds build. It is not a guarantee, but it is a pattern worth using when the rest of the forecast supports it.
Use Tide as a Timing Tool
Tide does not have a universal effect on visibility. At one site, incoming water can bring clearer offshore water into a cove. At another, it can increase current and pull sediment through a channel. An outgoing tide near an estuary or storm drain may carry discolored freshwater and debris across your intended route.
The answer is site-specific, so keep notes after every session. Record the tide stage, what the water looked like at the surface, and what you saw below it. After a few dives, you may find a reliable pattern: clear on a mid-to-high incoming tide, murky on a strong outgoing tide, or best near slack water.
Tide also affects access. A low tide might expose a safer rock entry at one location but turn another into a shallow, surge-heavy scramble. Plan for the full session, including how conditions may change while you are underwater.
Take Rain and Runoff Seriously
A clear forecast after a storm does not mean clear water. Rain carries dirt, oil, organic material, and bacteria through streets, creeks, storm drains, and river systems. Near river mouths and urban runoff outlets, visibility can drop sharply after even a short heavy rain.
Runoff is more than a clarity issue. Water quality can be a concern, especially after major storms. If you see brown plumes, foam, debris, unusual odors, or a distinct freshwater layer, choose another site or another day. Do not let a convenient forecast window override what the water is telling you.
How long should you wait? It depends on rainfall intensity, local drainage, swell, current, and how enclosed the area is. An exposed coastline may flush quickly. A bay with fine sediment may remain cloudy for days. Local reports are especially valuable here because conditions can change block by block along the coast.
Look for Real-Time Local Evidence
Forecasts tell you what may happen. A current photo, shoreline check-in, or report from someone who was just in the water tells you what is happening now.
Before leaving, look for recent observations from your exact area. Pay attention to when they were posted. A beautiful photo from yesterday morning is less useful after an overnight wind shift, a new swell, or rain. The best report includes location, time, a view of the water, and a practical visibility estimate such as “5 to 8 feet in the kelp” or “clear below the surface, but sandy inside the break.”
Searu brings daily clarity outlooks, timing windows, environmental snapshots, and community check-ins into one practical read, so you are not bouncing between generic weather data and scattered local posts. Use any forecast tool as a decision aid, then verify it with the latest on-the-water evidence.
When reading reports, account for the observer’s location and activity. A surfer may report “clean” conditions based on the surface, while a diver needs to know whether the bottom is suspended with sediment. A boat diver offshore may have much better visibility than a shore diver inside the surf zone. The report is useful when you understand its context.
Make a Go, No-Go, or Wait Decision
You do not need perfect visibility to have a worthwhile session. You do need visibility that matches your plan, training, equipment, and buddy team.
For a shallow snorkel in familiar water, moderate visibility may be fine if entries are calm and you can stay close together. For a deeper scuba dive, navigation, communication, gas management, and emergency response become harder as visibility falls. Freedivers should be particularly conservative around surge, surface chop, boat traffic, and separation from their buddy.
Before you commit, run this five-part check:
- Has recent swell or wind likely stirred up the bottom at this site?
- Is the tide likely to improve visibility and current during your session?
- Has rain created runoff, debris, or water-quality concerns nearby?
- Is there a current local observation that confirms what the forecast suggests?
- Does the visibility support your planned depth, route, and buddy procedure?
If one part is uncertain, adjust rather than force it. Choose a more protected site, wait for the next tide, shorten the plan, stay shallower, or call it. A no-go decision is not a wasted ocean day. It is how you save the day for conditions that actually deliver.
Build Your Own Visibility Playbook
The best divers do not rely on a single forecast. They learn the patterns of their coastline. Keep a simple log after each session: date, site, estimated visibility, swell direction and period, wind, tide, rainfall, and what you experienced during entry and at depth.
Photos help, but add context. A photo can make 10-foot visibility look crystal clear or make good blue water look dark. Pair it with a written note on horizontal visibility, surge, current, and where the water changed.
Over time, your notes turn into a personal playbook. You will know which cove handles a northwest swell, which beach clears after an incoming tide, and when a calm-looking day is likely hiding a silty bottom. That is the difference between reacting to the ocean and getting in when conditions line up.
The coast will always keep some surprises. Your job is not to predict every one. It is to stack enough good signals before you leave home that the odds are on your side – then stay ready to make the smart call when the water says otherwise.