
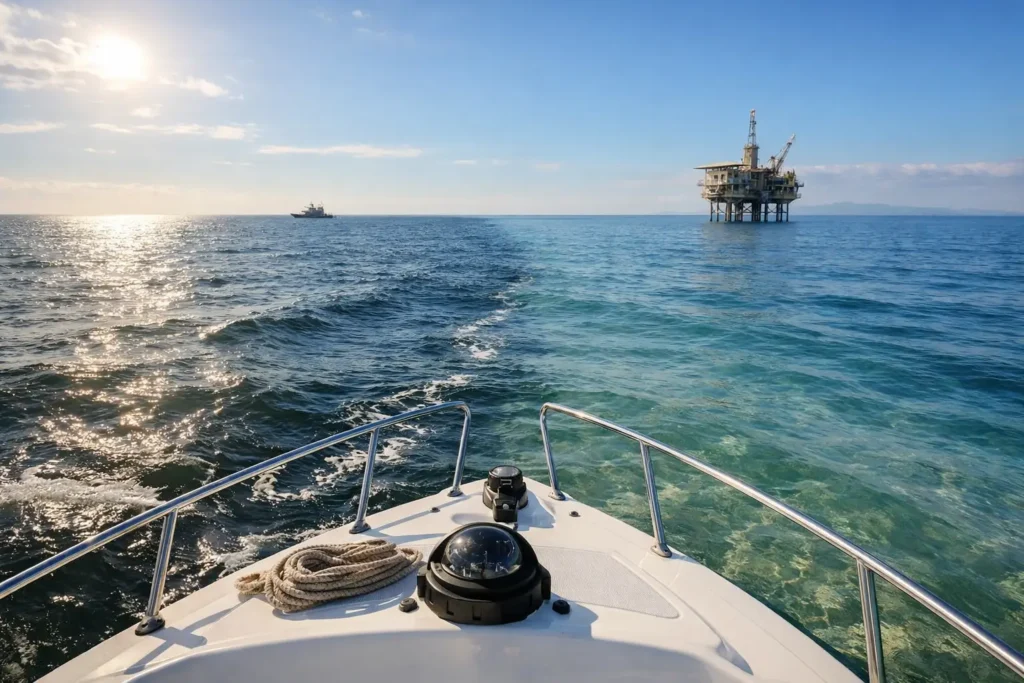
A glassy surface can be a trap. You arrive to calm water, pull on your gear, and find a brown-green cloud line rolling through the shallows. That is why asking what tide is best for visibility is smarter than checking the weather alone.
For most snorkelers, freedivers, and scuba divers, the short answer is high tide or slack high tide. But that is not a universal rule. The best window depends on whether the tide is bringing cleaner offshore water in, flushing sediment-rich water out, or moving hard through an inlet, harbor, reef channel, or river mouth.
The goal is not to chase a tide chart blindly. It is to understand what the water is doing at your specific spot, then match it with wind, swell, rain, and local reports before you commit the drive, fuel, and gear prep.
What tide is best for visibility?
High tide is often the best bet for underwater visibility, especially at beaches, reefs, coves, and locations near bays or estuaries. As the tide rises, cleaner water from offshore can push toward the coast and dilute murky water that has collected in shallow areas.
The clearest window is frequently near slack high tide – the short period around high tide when the water changes direction and current slows. Less moving water can mean less suspended sand, silt, and organic debris. It also makes entries, exits, and underwater navigation more manageable.
That said, “high tide equals clear water” can fail at certain spots. If strong onshore wind, big swell, or runoff is already stirring the coastline, incoming water may still be cloudy. And at an offshore reef with no nearby runoff or shallow sand, tide may matter far less than wind and swell.
Think of tide as one major input, not the entire forecast.
Why incoming tide often looks clearer
An incoming tide can improve visibility because it often carries water from deeper, cleaner areas toward shore. That can be a major advantage at beaches near lagoons, harbors, channels, and river outlets, where outgoing water may carry silt, debris, and fresh-water runoff into the ocean.
Imagine a coastal inlet after a week of rain. At low tide and during the outgoing phase, water draining from inland areas can create a visible plume. It may look darker, browner, or greener than the surrounding ocean. As the tide turns and begins to flood, that plume may pull back or mix out, improving conditions near a nearby dive or snorkel entry.
This is why local divers often plan around the final part of the incoming tide through slack high. It is not just about having more water over the reef. It is about avoiding the dirtiest water moving through the area.
There is a trade-off: incoming tide can also mean increasing current in narrow channels, passes, and inlets. Better clarity is not worth fighting current beyond your training, fitness, or comfort level.
When low tide can be the better call
Low tide is not automatically bad for visibility. On some rocky coastlines and reef breaks, lower water can reveal protected pools, make an entry more predictable, or place you closer to shallow structure where marine life is concentrated. At a site far from runoff and fine sand, visibility may remain excellent through the tidal cycle.
The issue is often access, not clarity. Low tide can leave less depth over reef, create surge around exposed rocks, or turn a comfortable entry into a long walk across slippery terrain. In shallow sandy areas, wave energy also has less water depth to dissipate through, so the bottom can get stirred up more easily.
If you are choosing a low-tide session, check the site-specific risks. Look for exposed reef, changing channels, boat traffic, sharp rock shelves, and whether you will have enough depth to return safely. A low-tide window that looks inviting from shore can become a different session once the tide turns.
The conditions that can override the tide
Tide matters, but it cannot clean up water that is being constantly churned. Before deciding that high tide is your window, check the conditions most likely to reduce visibility.
Wind direction and strength
Onshore wind blows toward land and can push surface chop, foam, and suspended sediment into the nearshore zone. A light offshore wind can sometimes help keep the coast cleaner and flatter, though it can also make surface conditions colder or more challenging depending on the location.
The key is local exposure. A cove protected from a northwest wind may be clear while an open beach a mile away is blown out.
Swell size and period
Large swell moves water all the way to the bottom in shallow areas. That energy lifts sand and sediment, especially along beach entries and inside reef-lined coves. Even if the ocean looks clean farther out, the first 20 yards can be milky from stirred-up sand.
Long-period swell deserves extra attention. It can create powerful surge around rocks and reefs even when the surface looks relatively calm. Visibility can drop fast, and a clear-water plan can become an unsafe one.
Rain and runoff
Heavy rain is one of the biggest visibility killers near urban coasts, river mouths, marinas, and drainage outlets. Runoff can bring sediment, debris, bacteria, and pollutants into the water. High tide may help dilute the plume, but it does not make recently contaminated water a good choice for a session.
After meaningful rainfall, give the coast time and use local observations. The right call may be to wait, choose a more exposed offshore-facing site, or skip the session altogether.
Bottom type and local geography
Fine sand clouds easily. Rocky bottoms, kelp forests, and deep reefs generally hold clarity better, though surge can still stir material around them. Bays, harbors, and estuaries can change dramatically over a single tide cycle, while open-water sites may stay consistent unless wind and swell build.
This is why a general tide rule becomes useful only when you pair it with a specific location.
How to choose your best visibility window
Start by identifying whether your site is influenced by a harbor, inlet, river mouth, lagoon, or shallow sandy bay. If it is, favor the later part of the incoming tide and the period around high slack, assuming wind and swell are manageable.
Next, look at the water movement, not just the height on the tide chart. A high tide with a hard current through a channel may be clear but unsuitable for an easy snorkel or solo dive. A slightly earlier incoming window could offer nearly as much clarity with more manageable movement.
Then check what happened in the previous 24 to 72 hours. Rain, wind shifts, and a new swell can matter more than the tide itself. A calm day after several days of settled weather can produce far better visibility than a perfect high-tide time following a storm.
Finally, use real-world local information. Recent photos and check-ins tell you what the forecast cannot: whether the shoreline is actually brown, whether kelp has piled up at the entry, whether the current is ripping, and how far the clear water begins from shore. Searu brings those moving pieces into one practical clarity outlook, so you can spend less time bouncing between charts and more time choosing a window that makes sense.
A simple rule for your next session
If you need a fast starting point, plan for one to two hours before high tide through the slack period after high tide. This is often a productive clarity window at nearshore sites affected by runoff, channels, or shallow sediment.
Treat that as a hypothesis, not a guarantee. If the wind is onshore, swell is up, or rain has flushed the coast, shift your plan or choose another location. If your site is a protected rocky cove with clean offshore water, the tide may be less decisive than the forecast suggests.
The best ocean days come from stacking small advantages. Get in when the water is moving clean, the bottom is settled, the current fits your ability, and someone knows your plan. Clear water is better when you can enjoy it safely.