
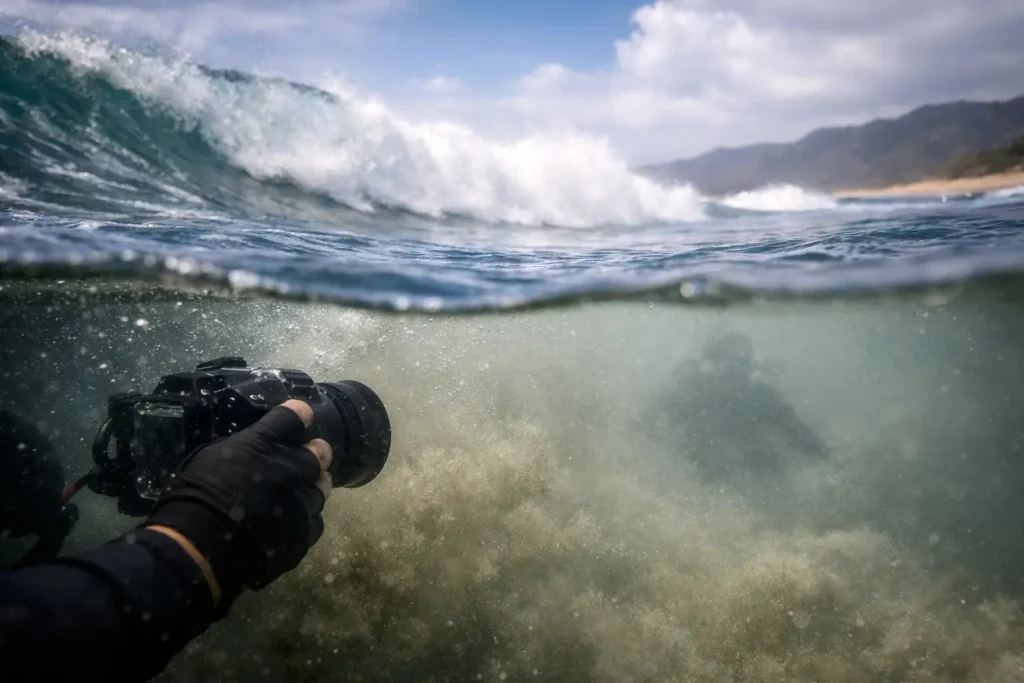
A forecast can show sunny skies and light wind, yet the water at your favorite entry point can still look like green coffee. That is the frustrating answer to when does swell reduce visibility: often before the surface looks particularly rough. Swell carries energy from far offshore, and when that energy reaches shallow water, reefs, sandbars, and rocky shorelines, it can turn a clear session into a low-visibility one fast.
For divers, snorkelers, and freedivers, swell is not automatically bad. A long-period swell can pass through a deep offshore site with little effect on clarity. But near shore, the same swell may move sand, break up kelp, resuspend silt, or push murky runoff along the coast. The useful question is not simply, “How big is the swell?” It is, “How will this swell interact with this spot, at this tide, at the time I want to get in?”
When does swell reduce visibility most?
Swell reduces visibility when its wave energy reaches the bottom or breaks across shallow structure hard enough to stir up material. The material depends on your coastline: fine sand, mud, shell fragments, decaying kelp, reef debris, or sediment washed out by recent rain. Once it is suspended in the water column, visibility can drop from 20 feet to a few feet even when the water itself is otherwise clean.
The biggest clarity losses usually happen in shallow, exposed areas. Think sandy beach entries, coves open to the swell direction, reef flats, harbor mouths, and points where waves wrap around headlands. A spot can be protected from wind but still take a direct hit from swell energy.
Swell height matters, but it is only one part of the picture. Period matters too. Wave period is the time between wave crests. Longer-period swells carry more energy and can affect the seafloor farther from where waves first begin breaking. A 3-foot swell at 14 seconds may create more surge and bottom movement than a choppy 3-foot swell at 7 seconds.
That does not mean every long-period swell ruins visibility. At a deep, protected site, it may produce a gentle rolling motion with good water clarity. At a shallow reef or sand-bottom cove facing the swell, it can be the reason you cannot see your buddy past an arm’s length.
The bottom type changes everything
Sand and silt are visibility killers. Wave action can lift fine particles quickly, and they may remain suspended long after the biggest sets ease. If your local site has a sandy entry followed by reef, do not judge clarity only by what you see beyond the break. The entry zone may be milky while the outer reef is better, or the stirred-up plume may spread across the whole site.
Rocky bottom often stays clearer during moderate swell because there is less loose sediment to lift. But rocks introduce another problem: surge. You may have decent visibility and still have a poor session if wave motion makes it difficult to hold position, navigate, equalize, or exit safely.
Reef and kelp sites sit between those extremes. Swell may not create a sediment cloud, but it can tear loose kelp and organic debris. That floating material can reduce your effective visibility, foul a snorkel or regulator, and make surface swimming more tiring.
Swell direction can turn one cove clear and another cloudy
A swell forecast is regional. Visibility is local.
If a site faces south and a south swell is running, it is more likely to receive direct energy. A north-facing cove behind a headland may remain relatively calm and clear. But do not assume protection is absolute. Swell can wrap around points, refract into bays, and concentrate energy in places that look sheltered on a map.
Local knowledge matters here. Pay attention to which direction turns your usual entry murky. After a few sessions, you will start building a practical mental map: west swell muddies the beach break, south swell sends surge into the reef, and a north swell leaves the inside cove workable. Community reports are especially valuable because they reveal what is actually happening at the waterline, not just what a buoy says offshore.
The visibility hit is often delayed
One of the most common planning mistakes is checking the swell at sunrise and assuming that is the whole story. Water clarity can deteriorate through the day.
As a rising tide pushes swell onto a shallow reef flat or sandbar, more wave energy may reach areas that were barely affected earlier. Afternoon wind can then add surface chop and mix the top layer further. If there has been rain, runoff can compound the problem by bringing sediment, tannin-colored water, and debris into the same nearshore zone.
The reverse can happen after a swell event. The surf may look smaller the next day, but visibility may still be poor because suspended sediment has not settled. Fine particles can hang in the water for hours or days, especially in enclosed bays with limited flushing.
The cleanest windows often arrive after wave energy drops, wind eases, and the water has had time to settle. How much time depends on bottom type, current, rain, and exposure. A rocky cove may clear quickly. A shallow sandy bay may need a full day of calmer conditions, sometimes longer.
What to check before you commit to a session
Stop guessing based on a single surf number. A usable visibility decision comes from reading a few conditions together.
First, look at swell height, period, and direction. Then compare that direction to the orientation of your site. A moderate swell aimed directly into a shallow entry deserves more caution than a larger swell moving past a protected coastline.
Next, check wind. Light offshore or calm wind can keep the surface manageable, but it will not magically clear sediment already being stirred by swell. Onshore wind makes the situation worse by adding chop, pushing surface debris toward shore, and reducing your ability to see conditions from the beach.
Tide is the next variable. Some sites are clearest around slack water because current and surge are reduced. Others are better at a specific tide that keeps you off a shallow sandbar or allows a cleaner entry. There is no universal best tide, so treat local patterns as part of the site’s operating manual.
Finally, look for recent rain and real-world observations. Rain changes the equation quickly, particularly near river mouths, storm drains, and urban beaches. A current photo or report from someone who has just been in the water can save you a drive, a tank fill, and an unnecessary risk.
Signs that swell has already hurt clarity
At the coast, use your eyes before you gear up. Brown or green plumes near shore, foam lines filled with debris, and a visibly cloudy impact zone are obvious warning signs. So is water that looks clear at the surface but has a milky cast over the sand beneath it.
Watch the sets, too. If each larger wave pushes a fresh cloud off the bottom, conditions are unlikely to improve while you are in the water. At reef entries, look for surge pushing hard through channels or across shallow ledges. That movement may not always reduce visibility, but it can turn a marginal session into a difficult exit.
If you cannot confidently see the bottom in the area where you need to enter, pause. Low visibility changes navigation, buddy separation risk, boat awareness, and the ease of finding a safe way back out. A session is not worth forcing because you already loaded the car.
Plan for the clearer side of the coast
The best move during a swell is often not canceling the session. It is choosing a different site, a different time window, or a different activity.
Look for leeward coves, deeper entries, and shorelines protected from the swell direction. If your usual beach is sandy and exposed, a rocky cove around the headland may hold far better clarity. If surge is still strong, a surface snorkel may not be the right call even if the water looks blue. Conditions need to line up for your specific plan, not just for a good photo from shore.
This is where a practical clarity outlook earns its place. Searu brings swell, tide, wind, environmental signals, and local check-ins into one decision: whether the water is likely worth your time, and when the better window may be.
Before you go, set a simple go or no-go threshold with your buddy. Decide what minimum visibility you need, what level of surge is acceptable, and what conditions mean you will switch spots or walk away. The ocean does not owe you a session. But with the right read on swell and local exposure, you can spend far more days getting in when the water is actually worth it.