
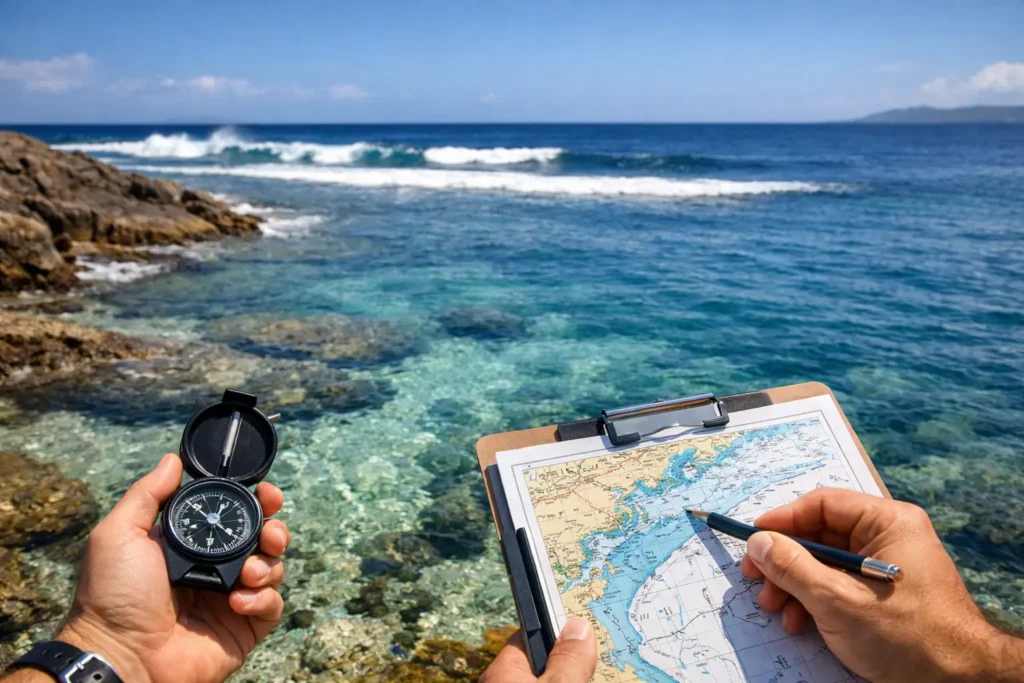
A forecast can say sunny, calm, and 80 degrees while the water at your favorite entry point looks like coffee. That is the gap tide timing can create. Learning how to read tide windows helps you stop treating the tide chart as background information and start using it to choose a better time to get in.
For snorkelers, freedivers, and divers, a tide window is not simply “high tide” or “low tide.” It is the stretch of time when tide movement, local geography, wind, swell, and runoff are most likely to line up in your favor. Read it well, and you can avoid wasted gear prep, long drives, and disappointing visibility.
What a tide window actually tells you
A tide window is a period around a specific stage of the tide when conditions may be more workable for your location and activity. The word may matters. Tides influence water movement, but they do not control the entire ocean.
At one beach, the best visibility may arrive near high slack tide, when incoming water has pushed cleaner offshore water toward shore and the current briefly eases. At a harbor entrance, that same high tide can stir up sediment, boat wake, and runoff. At a reef with a narrow channel, the best window may be well before or after slack because the current turns hard at the peak.
Think of tide data as a timing layer. It tells you when the water is filling, draining, or changing direction. Your job is to connect that timing to what the spot does during each phase.
Start with the four parts of a tide chart
Most tide charts look more complicated than they are. Focus on four details: the high tide time, low tide time, tide height, and the direction of travel between them.
A high tide is the highest predicted water level. A low tide is the lowest. The rising period between low and high is a flood tide. The falling period between high and low is an ebb tide.
The curve also tells you how quickly water level is changing. A steep curve usually means faster-moving water. A flatter curve near the top or bottom suggests a slower transition, often called slack water. Slack is not always perfectly still, and it is not always the best time to enter. But it can be a useful starting point when current is the main limiting factor.
Tide height matters as much as tide time. A high tide that is only slightly higher than the low tide may produce modest current changes. A large tidal range can create strong flow, expose or cover rocky entries, and move a lot more sediment through a cove or channel.
How to read tide windows for your spot
The fastest way to build local knowledge is to stop asking, “What tide is best?” and start asking, “What does this place do on a rising, falling, high, or low tide?” The answer changes with the shape of the coastline.
A protected sandy beach often gets clearer as cleaner water moves in on the flood tide, especially if offshore water is cleaner than water near a river mouth or marina. But if waves are breaking directly over a shallow sand bottom, incoming tide can also keep sand suspended. On a rocky reef, higher water may make entry safer and cover sharp structure, while lower water may reveal a more direct route to the reef but leave you dealing with surge.
For a first pass, check these four local factors together:
- Bottom type: Sand, silt, and loose seagrass cloud easily. Rock and coral may stay clearer, although surge can still stir sediment.
- Nearby water sources: Rivers, storm drains, canals, and harbor mouths can send murky water out on an ebb tide.
- Exposure: An open coast responds quickly to swell and wind. A protected cove may remain usable while the beach a mile away is blown out.
- Current paths: Channels, passes, points, and jetties can accelerate flow dramatically as the tide moves.
Your ideal window often emerges as a pattern. For example: two hours before high tide through the first hour after high, with light morning wind and small west swell. That is more useful than a generic rule like “always go at high tide.”
Incoming, outgoing, and slack water: the real trade-offs
Incoming tide is often a good visibility bet at coastal sites because it can bring ocean water toward shore. It may also make a shallow entry more forgiving. The trade-off is that incoming water can strengthen current near inlets, channels, and structure.
Outgoing tide can be productive at spots where cleaner water drains from a protected lagoon or where the reef sits outside the influence of runoff. More commonly, though, an ebb tide carries sediment, freshwater, and debris away from land. Near river mouths, marinas, and bays, that can mean lower visibility and stronger pull toward open water.
Slack water gets a lot of attention because it can reduce current, which is valuable for a relaxed snorkel or a dive that requires precise positioning. Still, the cleanest water may arrive before slack, and the safest window may end before it. If a channel is known for fast tidal flow, do not wait at the edge of a changing current just to catch a few calm minutes.
The right call depends on your site, your skills, and your plan. A freediver looking for a calm reef line may choose a different window than a scuba team making a shore entry with heavy gear.
Tide timing is only one part of visibility
Tides get credit or blame for conditions that are really driven by wind, swell, and recent weather. If you want clearer water, use the tide chart alongside the rest of the picture.
Wind can be the session killer. Even a favorable tide may not help when onshore wind chops the surface, pushes suspended sand toward the beach, and makes a shore break harder to manage. Offshore or light wind can improve surface texture, but it is not automatically safe. Offshore wind can make exits harder and push floaters away from shore.
Swell matters below the surface. A small swell period may look harmless from the parking lot, yet repeated surge over shallow reef or sand can turn visibility quickly. Larger, longer-period swell can move serious water around rock shelves, caves, and entries even when the surface looks manageable.
Rain changes the equation too. After a storm, give rivers, drains, and urban runoff time to clear. A high tide might cover the mess, but it does not erase bacteria concerns or magically restore visibility. When water color looks wrong, debris is present, or local advisories are active, skip the session.
Build a repeatable pre-session check
Before committing, compare the tide window with the conditions expected during the exact hours you plan to be in the water, not just when you arrive. A clean 8 a.m. entry can become a choppy 10 a.m. exit as wind builds and the tide turns.
Check the predicted high and low times, the tide range, wind direction and speed, swell height and period, rain in the previous day or two, and any current-specific hazards at the site. Then compare that forecast with real observations. A recent photo, a trusted local report, or a check-in from someone who just exited can tell you whether the forecast is playing out.
This is where a planning tool like Searu can reduce the guesswork: use the tide and environmental data to identify a likely window, then confirm it against current clarity outlooks and community observations before loading the car.
Keep notes after each session. Record the tide stage, approximate visibility, wind, swell, entry conditions, and whether the current felt manageable. After a few visits, those notes become a personal playbook for that coastline.
Know when a “good” tide window is not good enough
A favorable tide is never permission to ignore conditions. If the shore break is beyond your comfort level, the current is stronger than expected, visibility prevents you from maintaining buddy contact, or your exit could close out as the tide changes, call it early.
Visibility is a safety variable, not just a quality score. For buddy teams, reduced visibility can make separation more likely. For solo ocean users, it removes another layer of situational awareness. Choose conservative limits before you enter, tell someone your plan, and avoid using a tide window as a reason to force a marginal session.
The best ocean days are rarely accidents. Watch the tide, learn what your specific spot does with moving water, and pair that knowledge with real conditions at the coast. When the window lines up, get in. When it does not, save the session for a better call.